
But that's nothing a little DIY project can't fix!
Just like my Dress Dyeing Adventure, the inspiration for this project came from something I saw on Young House Love. A guest post by Kara Paslay, who made an ottoman totally from scratch.
Well, I don't have my home workshop set up for woodworking yet (someday I will have a circular saw...), so I didn't go from scratch. Instead, I picked up a small side table from the thrift store for $10.
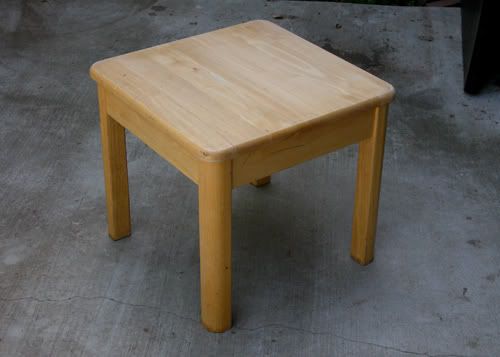
It would have been nice to find something a little more unique or stylish, but I couldn't argue with a $10 price tag and I didn't want to risk destroying something too pretty.
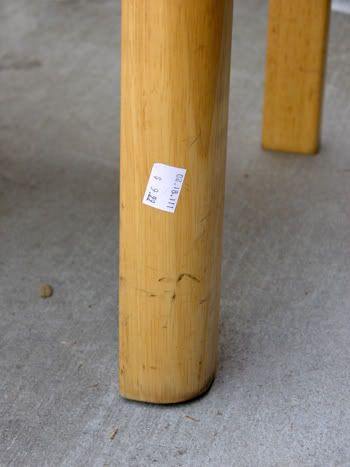
The first step was to give the table a light sanding to roughen up the surface and remove what appeared to be crayon marks from the previous owner. I use work gloves when I sand to protect my skin, but also to get a better grip on the sandpaper. (In case you have any doubts, leather work gloves do come in women's sizes.)

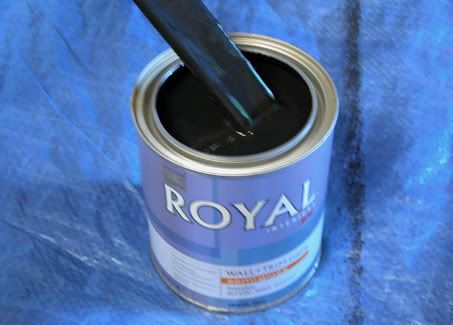
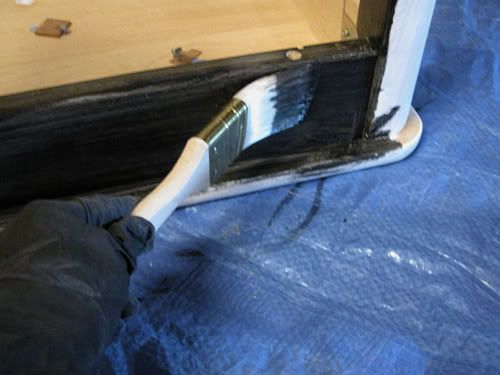
Then I primed and painted the table so it would fit in with the existing living room furniture. I chose black to match the coffee table and the entertainment center. Remember your paint will always turn out better if you mix it well according to the labels instructions. Many paint or hardware stores will give you paint stir sticks for free if you ask.
I left the primer exposed on the top because I knew it would eventually be covered with upholstery.
Even though my ottoman was going to be pretty small, I decided I was going to have four buttons on it to really play up the tufted look. I measured out a grid on the table top so each button would be evenly spaced. I used a medium-small sized drill bit to make holes for threading the buttons into place later.

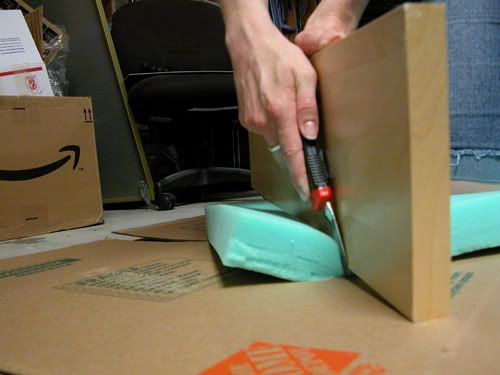
I got a square of high density chair cushion foam from the craft store. It was a little bigger than I needed so I cut it down to size.

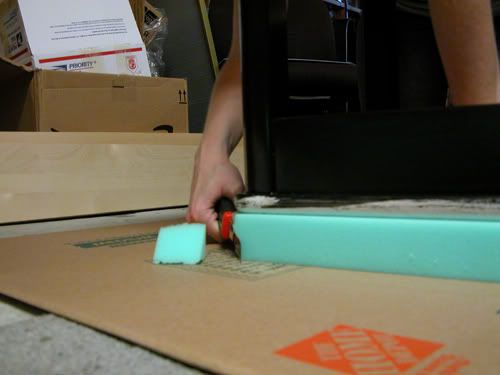
After some Googling, I found a good recommendation for how to cut foam if you don't have an electric knife. Place the edge of a board (I used a shelf from Ikea that way lying nearby) along the line you want to cut and put some pressure on it so it compresses the foam to a more manageable thickness. Then use a razor knife to slice along the line, using the board as a guide. I was really surprised how easy this was.
Safety note: Don't ever use hot cutting or gluing products on urethane foam because it can release toxic gas into the air.
(Excuse the poor focus and veiny hands...it was more than 100 degrees in my garage at this point and I was melting from the inside out. Ahhh, Southern California summers.)
Because my table has rounded corners I also trimmed a triangle of each corner of the foam square, using the table place upside down as a guide.
Next I got my staple gun and stapled some extra loft batting into place. This gives the cushion some extra padding and helps keep it in place. Kara Paslay recommends using contact cement to attach the foam to the ottoman's base. Because my ottoman was so much smaller than hers, I chose not to. Also, contact cement can be messy and probably tricky to apply in very hot weather.
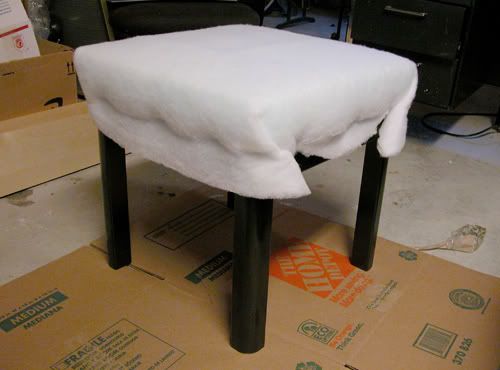
I chose to double the batting to add even more cushiness. The foam is pretty stiff...not the kind of padding you'd ever want for something like an easy chair or a pillow. But for my purposes it was fine: I wanted the ottoman to be firm enough to use as a mini coffee table, at least with a tray place on top, like this. I added an extra layer of batting to strike a balance between firmness and comfort. Once the batting was securely in place, I cut away the excess with my fabric shears.
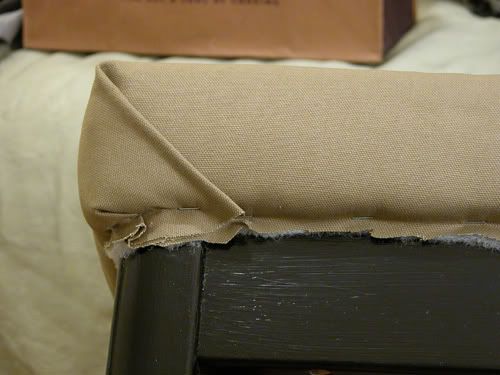
Next came the fabric. I chose a sagey green canvas-like fabric from the craft store. I got two yards even though I needed less than one to cover the ottoman, just in case I messed up. I stapled the fabric into place just like the batting, starting at the center of each side, and working my way toward each corner. I managed to get the corners looking pretty tidy by practicing the folds a few times before securing them.
I did something kind of odd and placed only one fold on each side, so they go around the ottoman kind of in a circle. It's a little asymmetrical and may give away the DIY nature of the ottoman, but it looked tidy enough that I think it works.
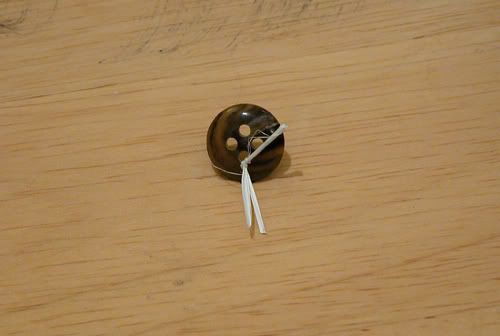
Next came the tufting with the buttons. I threaded a big embroidery needle with some dental floss (my heavy duty thread was MIA) and tied a button at the end to keep it from slipping through the hole in the bottom of the ottoman. I pushed the needle up through the hole (a thimble helps with this) then pushed down on the foam top until the needle popped through the fabric. Kara Paslay suggests using pliers to pull the needle through at this point and she's absolutely right...you just can't get a good enough grip on it with your bare hands.
And here's where I hit a wall of frustration. Kara says in her how-to that once you pull the needle up through the cushion, attach your button, and poke the needle back through the cushion, that you'll eventually find the hole in the tabletop. I never did find the hole, or at least not before my patience ran out. Even making the holes bigger with the drill didn't help.
My solution was to create a loop at the end of a stiff piece of wire. I used this to thread up through the cushion, and without pulling the wire all the way through the top. Then I put the button on and pulled the thread back down. I pulled the thread tight before tying it so that the button pressed into the cushion, creating the tufted look. I tied the thread through a button on the underside of the tabletop to keep it in place.
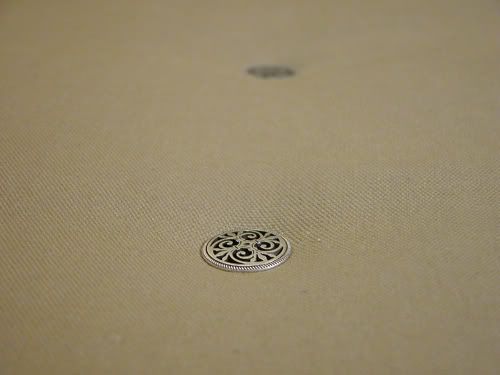
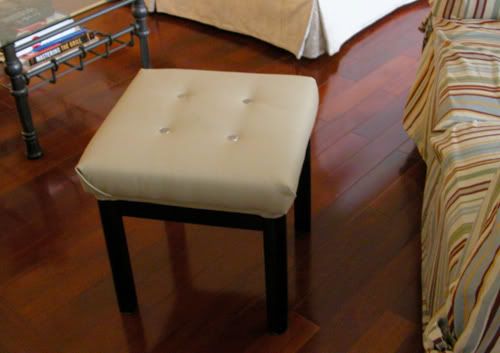
Though most custom ottoman crafters seem to choose fabric covered buttons to match their upholstery fabric, I wanted to do something a little more unique. I chose silver metal buttons with a curled vine design. This touch of traditional style made the ottoman's otherwise modern shape fit in well with some of the more classic decor in the living room.
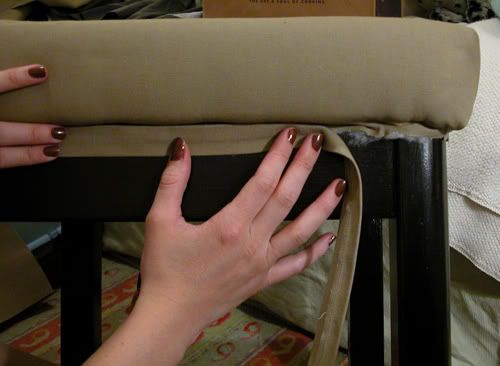
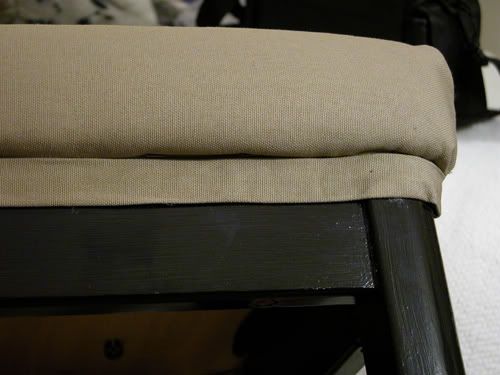
Once I trimmed away the excess batting and fabric, I was left with a problem. Because I was working with an existing table there was no way to hide the edges of the fabric under the lip of the tabletop. The ratty edges just looked gross. So I measured a long strip of fabric, sewed it neatly and ironed it to hide the seam, and hot glued it into place over the rough edges. Much more presentable.

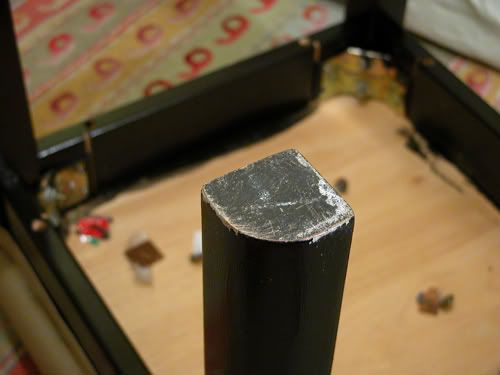
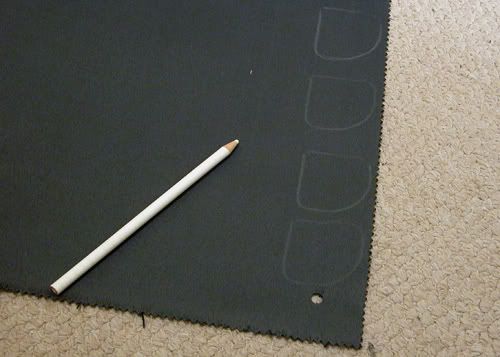
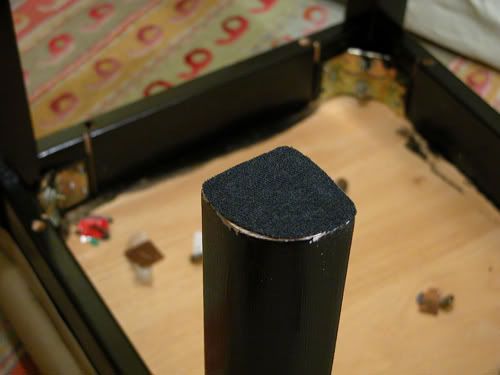
Even from just knocking around the garage for the duration of this project, I noticed the bottom of the ottoman's legs were already getting worn. To protect the ottoman, and the hardwood floor in the living room, I decided to put pads on the feet. I used some of the felt-like upholstery samples that I used in my Fabric Flowers project, traced and cut to fit.
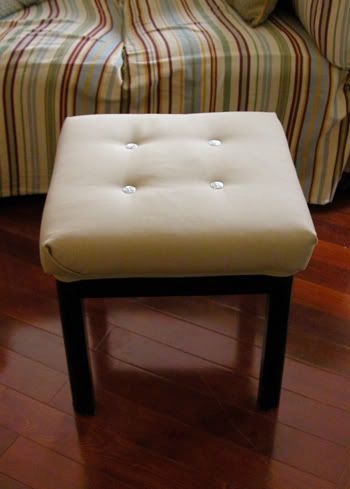
And finally, it was done. After all that work, I think I deserve to put my feet up for a while.

PS. If you want to check out a few other DIY ottoman projects inspired by Kara's tutorial, check out a few that she featured on her blogKara Paslay Designs.
No comments:
Post a Comment