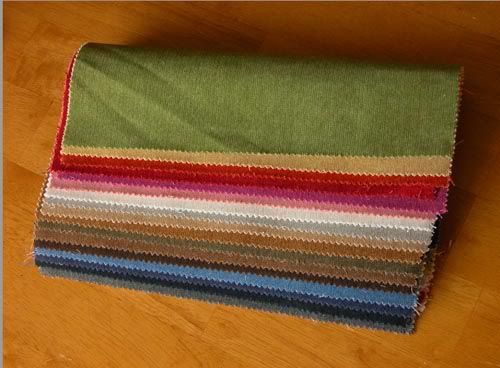
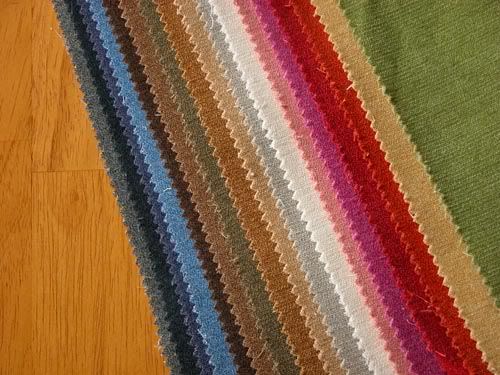
When I see a pile of things in different colors my creative mind immediately starts working. I have little use for fabric flowers to be honest. I'm not likely to pin them to my shirt or glue them to a headband. And, sharing a house with male roommates, I'm not likely to get away with making them part of the decor. Still, somehow I know I'll find a use for them, and I'm not one to deny crafty impulses.
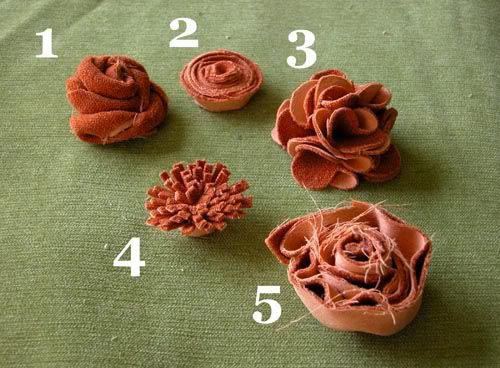
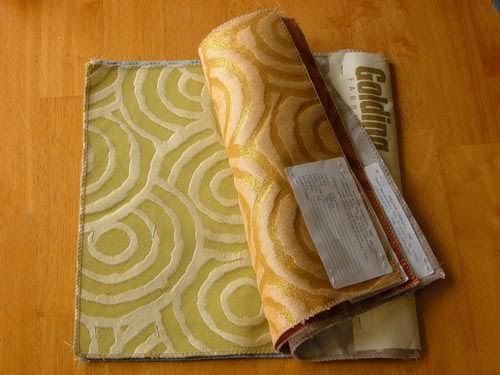
Each fabric square is about 14 inches on each side, which eliminates some of the fabric flower tutorials that call for ribbon-length fabric. My other tools for this project were fabric scissors and a glue gun...and nimble fingers. Except for #5, which also involved a needle and thread.
Here are the tutorials for each type of flower. You may also want to explore these blogs for lot of great inspiration for other projects:
(Ok, obviously #2 isn't a fabric flower tutorial, it's a paper flower tutorial. I decided to go with it anyway, and the result is different but still flower-like.)
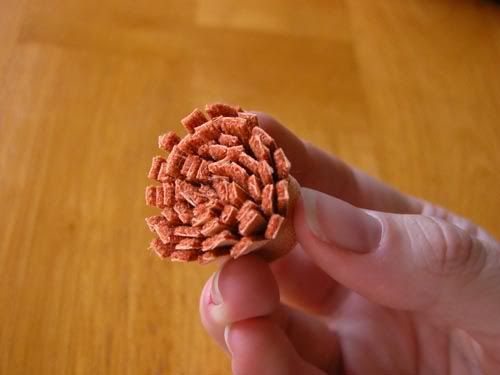
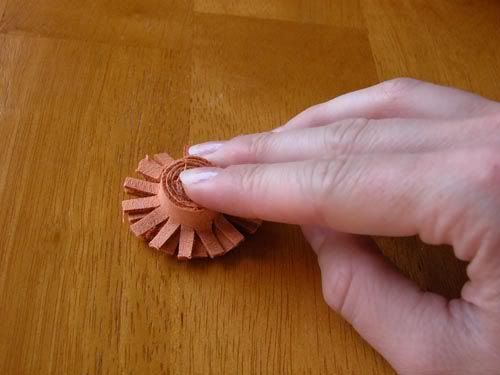
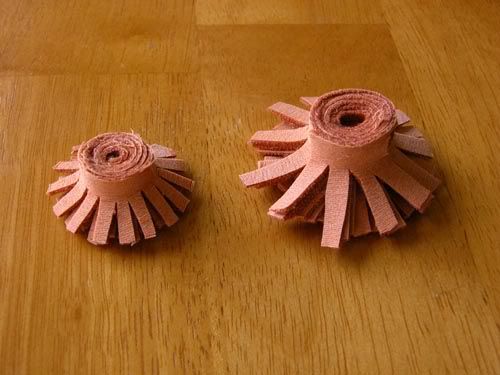
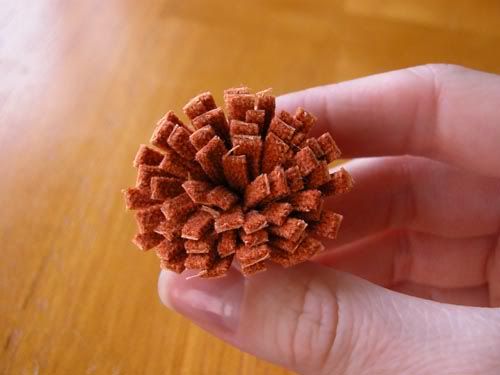
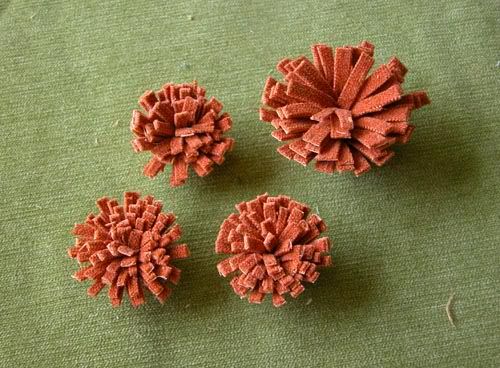
The tutorial that worked the best was #4, because the upholstery material behaves similarly to felt. The flowers also resemble dandelions, which I've been admiring more than usual this summer. There's a vintage feel to dandelions, and I think these fabric ones carry that spirit too.
The only problem with these flowers is the "petals" don't flatten and spread out on their own. I solved this by pressing them against the table and leaving them upside-down over night.
Now all that's left is to make a few in different colors and figure out what the heck to do with them.
UPDATE: I found another fabric tutorial that I feel obligated to share. I actually think this one might be my favorite. You can find it here on the blog Mrs Priss. I made a cluster of natural neutral colored flowers and put pin backs on them from the craft store. Voila, pretty little DIY accessories.


No comments:
Post a Comment