
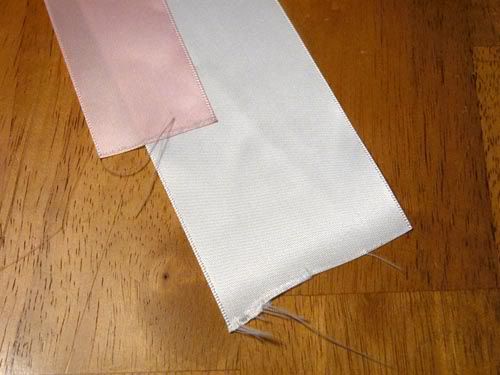
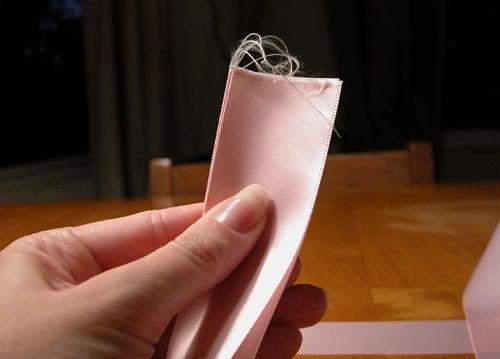
The problem is, when you get ribbon cut at the fabric store, you end up with frayed edges that are none too pretty.
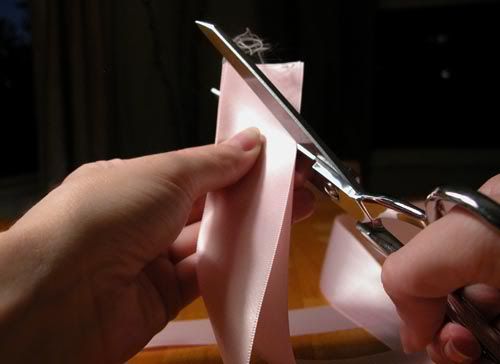
When cutting ribbon you wanna make sure you have nice sharp scissors. Of course, the best thing to have is a pair of fabric shears, but really sharp paper scissors might do the trick. I always cut my ribbon at an angle. This seems to be the conventional thing to do, and somehow ribbon does look fancier that way. I layer both ends on top of each other to make sure they both look the same after they're cut.
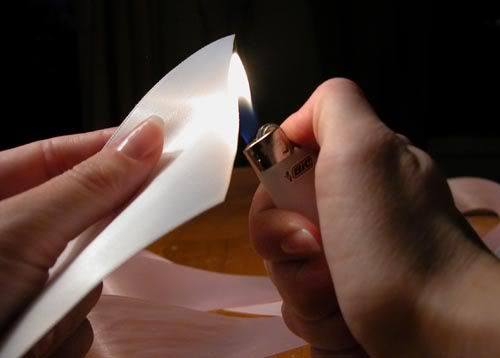
Next, we'll need some fire. I use a lighter, though I've heard you can use a small candle. I haven't used candles because I worry about soot; the flame from a lighter seems much cleaner.
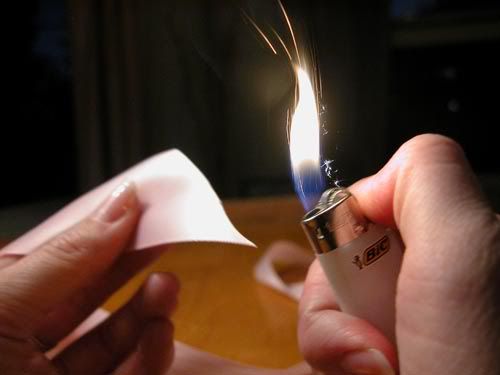
Ignite your lighter and glide it along the freshly cut edge of your ribbon. Be prepared to make one or two swift, smooth passes. You want the lighter there just long enough to melt the very edge of the ribbon without burning it or changing the color. You'll see the edge smoothing out as the flame goes by. Let the ribbon cool for a few seconds and you're ready to go.
Just a note, I've only tried this with polyester "satin" ribbon, the cheap stuff from the fabric store. If you're planning to try this on another type of ribbon, I suggest testing it out on a scrap first.
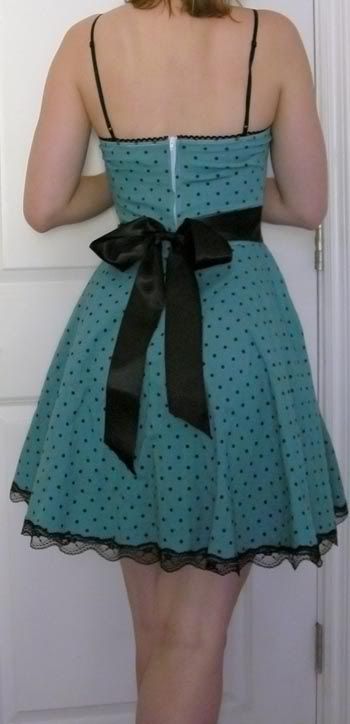
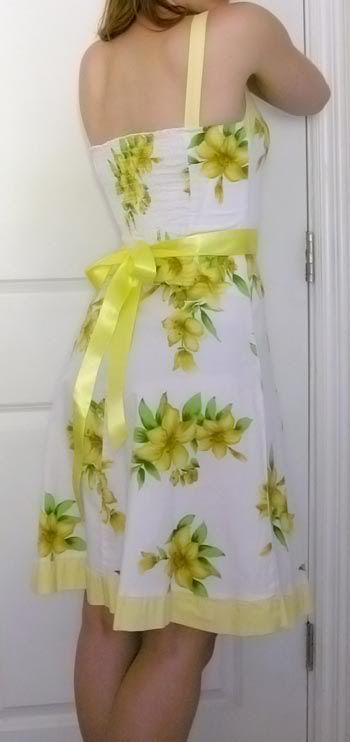
Here are a few of the second-hand dresses I've perked up with a touch of satiny ribbon. Even a cheap cotton/synthetic blend can look formal with the right ribbon.
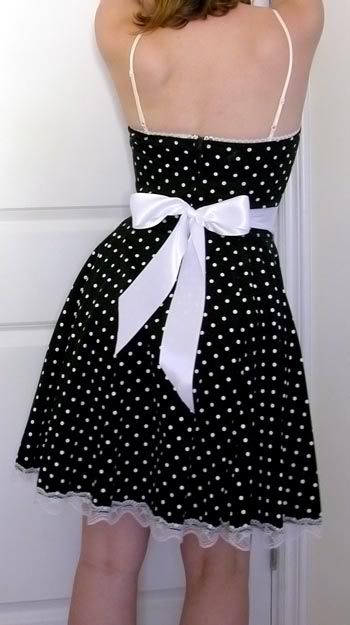
By the way, you should always get more length in your ribbon than you think you need. When I buy ribbon for my waist I get 2 yards. This gives me enough length for trimming mistakes, and enough to have a good amount of trailing length below the bow.
Great! I like reading your post. Why not get Mauve Satin Ribbon for your project?
ReplyDelete