
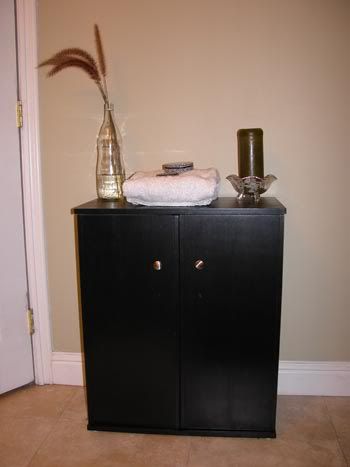
I found this fugly brown cabinet for $20 at the thrift store. As far as I can tell, it was originally designed to hold VHS tapes, but it's also the perfect size for bathroom doodads of various shapes and sizes.
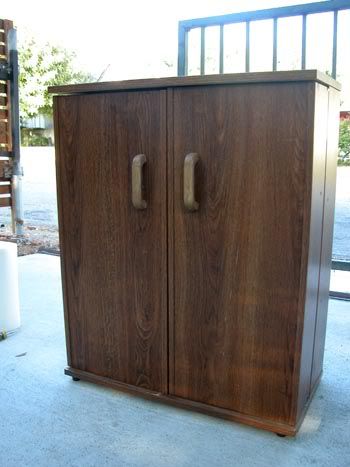
And as you may have guessed, it is certainly not made of real wood, but particle board covered in faux-wood veneer (I just threw up in my mouth a little bit). Time for a makeover!
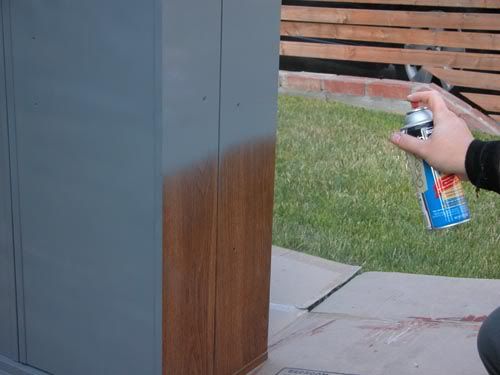
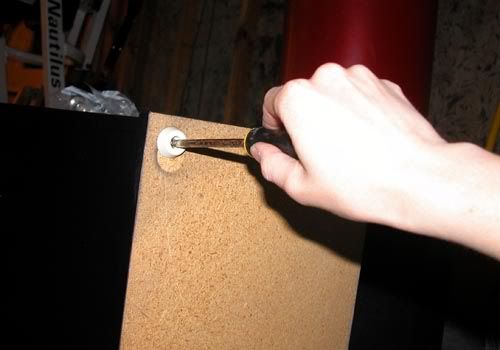
The first step, as always, is primer. To give you an idea what I newbie I am with some of the crafty stuff, I didn't know there was such thing as spray primer. The muscular hand in the photo is my spray painting coach, a.k.a my boyfriend. He says the key to even spray paint is continuous, overlapping strokes. Your hand should always be moving while you're spraying. Follow this rule and you'll avoid runny, drippy sections.

I decided that I wanted knobs instead of handles on the cabinet, so that left me with an extra screw hole on each door from the original handles. I used a little hot glue to fill in these holes. Normally you would use wood filler for something like this, but I didn't have any. It's times like these that I miss my father's fully stocked workshop.
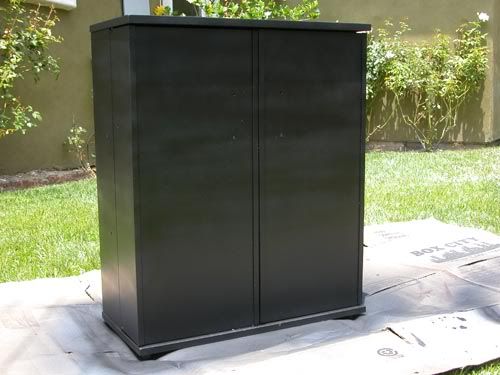
I did my spraying on a flattened out cardboard box on the lawn for good ventilation. However, there was a consequence to this decision. A gentle breeze may be good when spray painting, but direct sunlight isn't. My black spray paint dried unevenly in the sun and became a streaky mess! I realized my mistake and moved to the shade for the second coat. Remember that paint and sun are not friends. This goes for varnish and poly finishes too.
After leaving the paint to dry overnight (actual dry time was less; see your paint's label for specifics), it was time to finish it. Strictly speaking, you don't have to finish everything you paint, but it protects your paint and makes it easier to wipe clean. My finish of choice is Minwax Polycrylic: it dries quickly and washes up with soap and water. Normally I would use something finer than a chip brush to finish furniture (like a high quality synthetic bristle brush), but I didn't mind the texture it created, which was almost like wood grain.
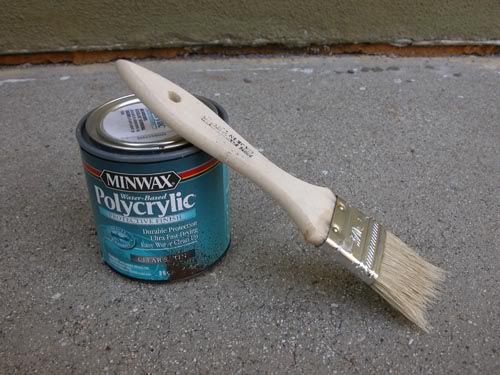
I chose satin finish to match the shelf-like structure under the sink. Once the finish was dry, there was no sign of the streaky paint fiasco.
Next I attached the new brushed aluminum knobs I got at the hardware store. I also added 4 new rubber feet to the bottom of the cabinet, to protect the tile floor from any moving or shifting furniture.

And that's it! All those unsightly bottles and thingamabobs are hidden away in my new contemporary style bathroom cabinet.
No comments:
Post a Comment