
I'm serious when I say I'm a perpetual DIYer. So perpetual, in fact, that sometimes there just isn't time to share everything here! I'm playing catch-up on projects that have fallen through the cracks, starting with this third installment of my series of DIY projects inspired by West Elm. (Part 2 a.k.a. Rope Lamps was just featured on Copycat Crafts! Yay!)
In addition to my love of lamps, I also love trays. It must be the neat freak in me (or as my friends would say, the Monica Geller in me) that is obsessed with the organizational possibilities of a tray. With a tray you can carry breakfast to the bedroom without spilling! With a tray, you can turn an ottoman into a coffee table! Truly delightful, aren't they?
No surprise, I've been drooling over West Elm's colorful lacquer trays ever since I first saw them.
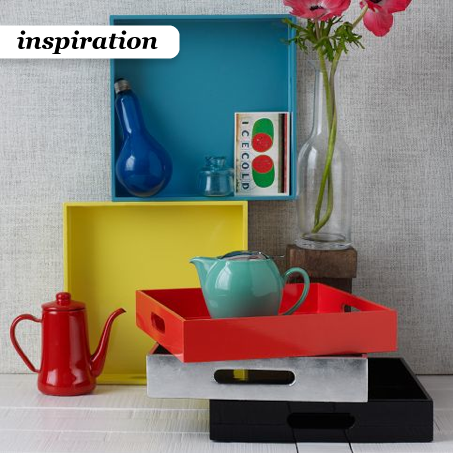
My inspiration trays cost between $25 and $69 at West Elm. After a few weeks of keeping my eyes peeled, I found a black tray at the thrift store for about $4. It even has the same oblong handle holes.
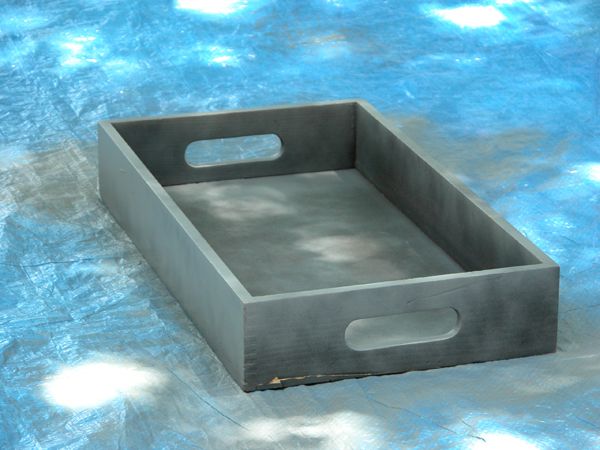
I primed it with gray spray primer (and forgot to take a before photo). When you're changing the color of a dark object, it's better to use a gray primer (instead of a white one). You will get better coverage with less paint.
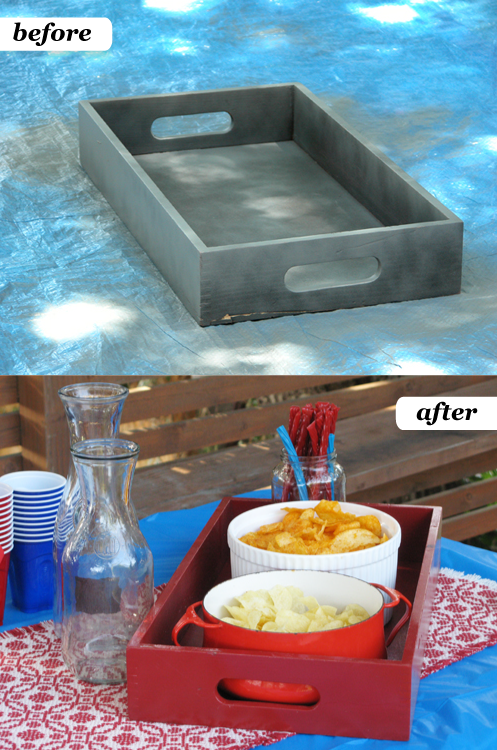
The tray was in perfect condition except for a split in the wood on one side.
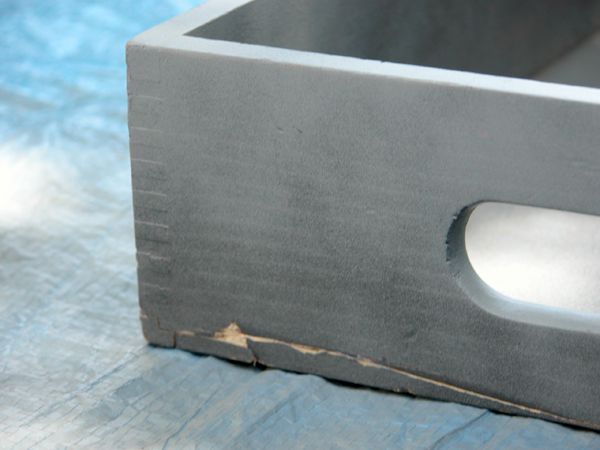
The split didn't bother me too much, because I knew it wouldn't show up as much once painted. Also, if you haven't noticed by now, I like things to have a distressed look. And distressed is the new black these days.
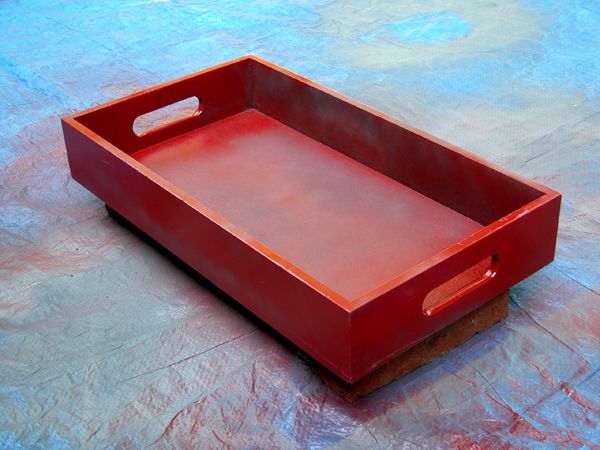
My favorite color among the West Elm lacquer trays was red, so I bought a red spray paint for my DIY tray. I chose a gloss finish spray paint to approximate the luster of lacquer.
Sure enough, after just one coat, the split in the wood was much less obvious. I wanted the paint on the tray to be very even and lacquer-like, so I took my time and didn't worry about complete paint coverage with the first coat. You can still see a little bit of the gray primer peeking through after the first coat.
The next two coats easily covered all the primer. While spraying I propped the tray up on bricks so errant sprays wouldn't adhere the tray to the tarp.

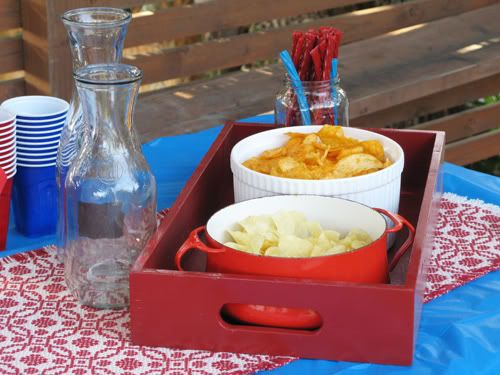
The finished tray made its debut to the public and on this blog almost a year ago in the Frugal Fourth of July post. Clearly when this project fell through the cracks it fell in deep. Here it is serving up chips and licorice to party guests.
Since then, the tray has become my bedside repository for all the books and magazines I'm currently reading. This was an easy and cheap project ($4 tray + $7 spray paint = $11 total) and it's lovely to have something pretty and practical to keep the mess contained. Maybe if I find a similar tray at the thrift store I'll make myself a blue lacquer tray to match.
Great Post! Thanks for your share! You can get ribbons with 196 colors and 19 sizes polyester satin ribbon with the best deal from https://www.yama-ribbon.com for your project!
ReplyDelete