
You can get all the supplies you need at a craft store like Michaels. (Prices are estimates because I lost my receipt and can't remember precisely how much everything cost.)
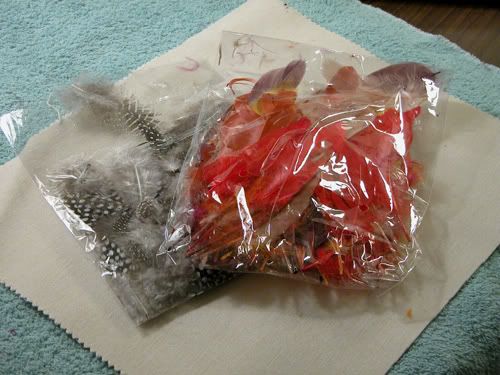
- Feathers! - $6 for a big variety pack, $3 for smaller color-coordinated packs
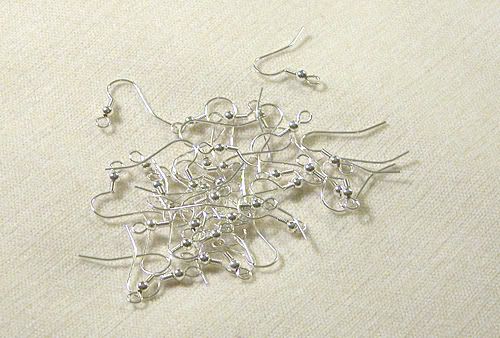
- Earring hooks - $3 for pack of 20
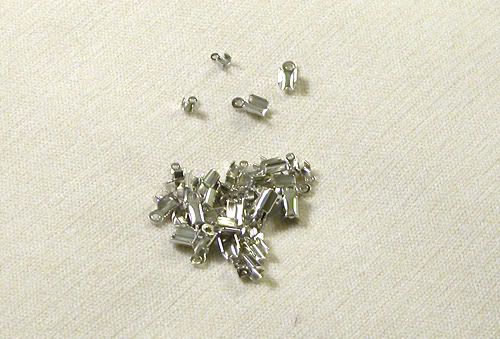
- Crimp cord ends - $4 for a pack of 48 (there seem to be a few names for these. I have seen them called crimp beads, but the most important thing is that they have a loop at the top).
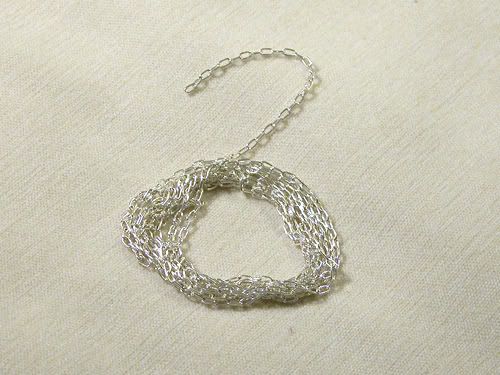
- Optional: Pretty chain for trendiness and weight - about $4 for a pack, or take apart an old necklace you don't wear anymore for free!
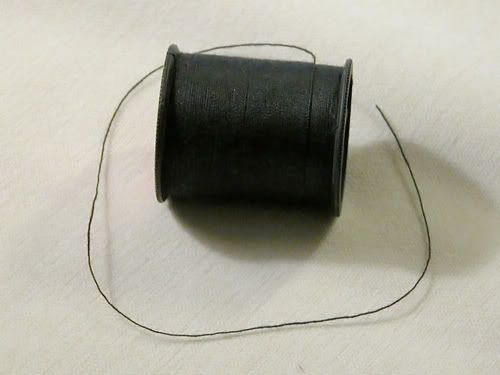
- Optional: Thread for holding feathers together
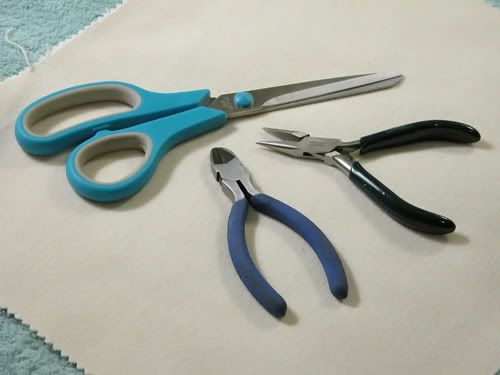
The tools you will need are wire cutters and a pair of needle nose pliers. The flat-nose variety are the most common, and you may already have a pair hanging out in your utility drawer. Some needle nose pliers have a wire cutter built in. It's also good to have a pair of scissors around to trim feathers to size. Making a pair takes between 10 and 20 minutes, depending on how coordinated you are. Practice makes perfect of course!
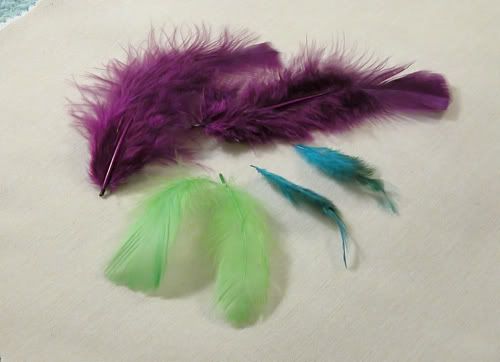
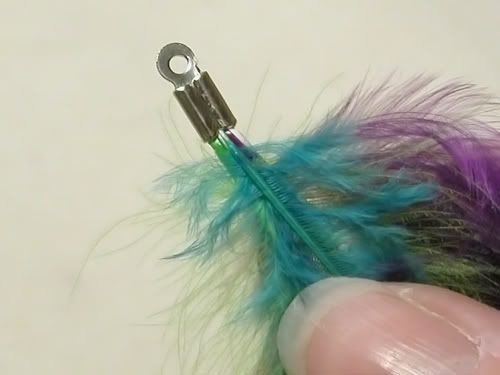
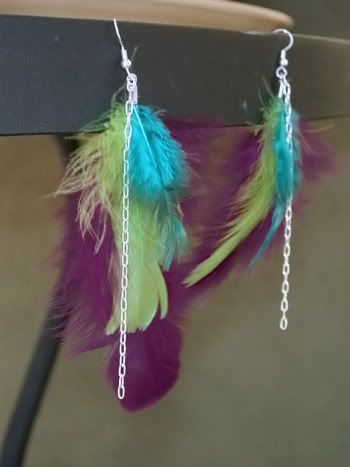
Find matching pairs of some feathers you like. I usually use 3 or 4 feathers in each earring, varying size, type, and texture to make it interesting. If I find some that are almost the same size, I trim down the larger one by cutting the quill. For the sake of this demo, I used all bright colors.
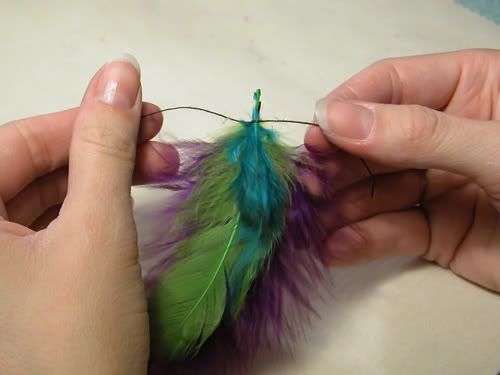
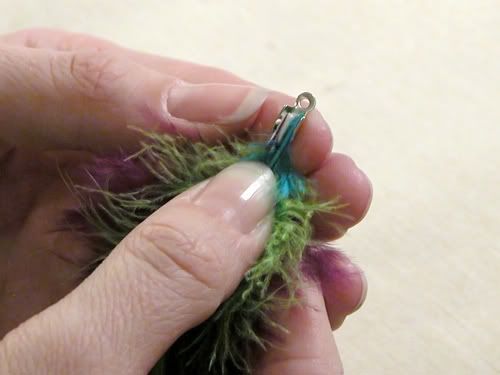
Once you've arranged the feathers to your liking, tie a small length of string around them to keep them together. This way, you won't have to worry about holding them too securely when you attach the crimp.
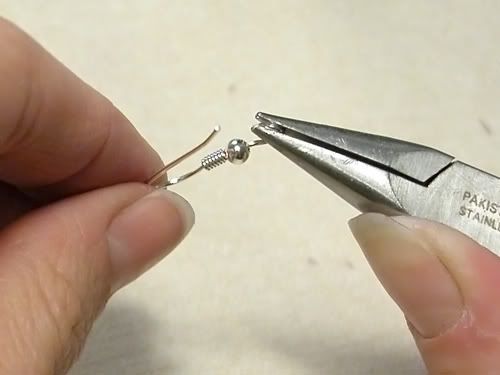
Place a crimp around the end of your bundle. Use your pliers to squeeze the flaps of the crimp together, from behind. See below:

Once the crimp flaps are touching, flatten them with the pliers. The more strength you put into closing the crimp, the better the hold will be. If the crimp is too loose, the feathers can fall out. The crimp cannot be reopened again, so any mistakes mean a wasted crimp.

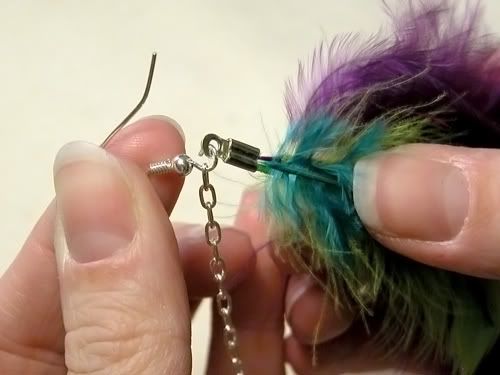
It's time to attach the feathers to the ear hook. Open the loop at the bottom of the ear hook by gripping it with the pliers and twisting away from the rest of the hook. You do not want to open the loop by simply making it larger. It's nearly impossible to keep the loop from becoming misshapen when you try to close it again.
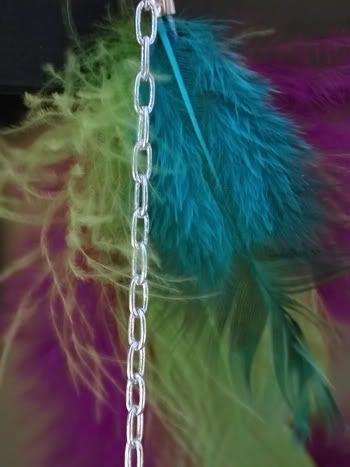
Slide the feather bundle onto the loop, making sure they are facing the right direction, that is, swept away from your face. If you want to add chain, this is the time to do it. I think the chain looks best when it hangs right in front of the feathers, so I slide the chain on first.
Close the loop and you're done! A pair of trendy feather earrings, customized to your color choice, for what...a few cents apiece and a little of your time?
No comments:
Post a Comment